How Much It Really Costs to Install a Home EV Charger: The Honest Breakdown
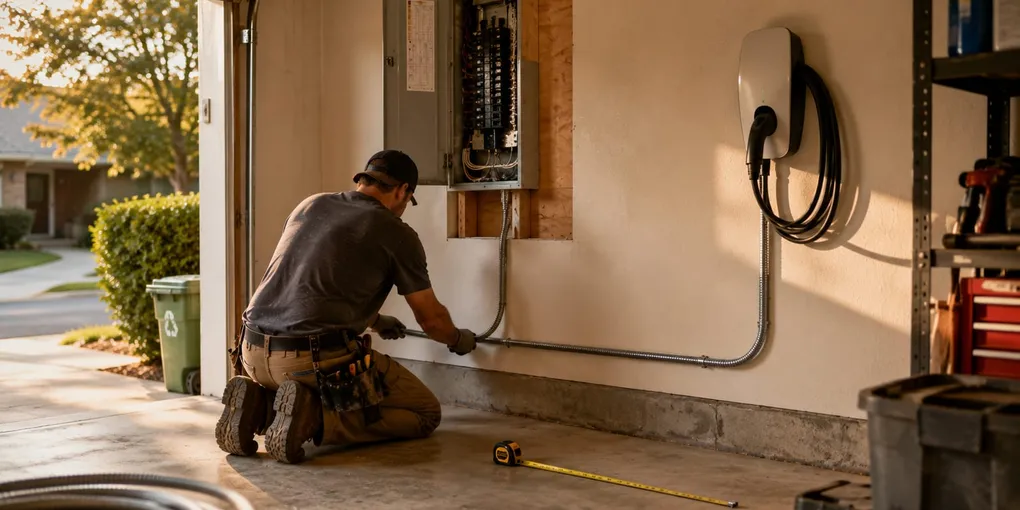
Almost everyone stares at the price of the box on the wall and assumes that’s where the money goes. It isn’t. The charger is usually the cheapest and most predictable line item in the whole job. Installing a home charger typically runs between $800 and $2,500, and the number that blows up your quote is almost never the equipment — it’s the distance between your electrical panel and the spot where you want to plug in. A few extra feet of wire and the state of your panel decide whether you pay $1,000 or $2,500.
It feels backwards. Two neighbors with the same car and the same charger can pay double one to the other, purely because one has the panel three feet from the garage and the other has it across the house behind a finished wall. Let’s follow where the money actually goes.
The real breakdown: equipment, labor, and total
Before the table, it helps to split the two big buckets cleanly, because quotes mix them constantly. On one side is the equipment — the charger itself. On the other is the installation: the electrician’s labor, the wire, the conduit, the protection devices, and, if needed, work on the panel. Here are the ranges to plan around.
| Line item | Typical range | What it covers |
|---|---|---|
| Equipment (basic Level 2) | $350-500 | A plain 240V charger, no smart features |
| Equipment (smart) | $500-800 | App control, load monitoring, scheduling |
| Labor + materials | $500-1,500 | Electrician, wire, breaker, GFCI, conduit |
| Total, turnkey | $800-2,500 | National average lands near $1,000-2,442 |
Notice how labor and materials often match or beat the price of the charger itself. That’s not the electrician padding the bill — half the work is hidden inside the wall and the panel. A basic Level 2 unit covers overnight charging for nine out of ten drivers, so spending big on the hardware rarely pays off unless your car can actually use it.
Where the money goes: what drives the bill up
Here’s the heart of it. When a quote runs high, it’s almost always one of these four things, and none of them has anything to do with the brand on the charger.
- The distance from the panel to the charging spot. This is the big one. Wire runs roughly $8-25 per foot installed once you factor in the trench, conduit, or wall chase, so a short run is pocket change and a long one is a real line item. Runs over 20-30 feet, across a yard, or up an exterior wall can easily add $500-1,000 in wire and conduit alone.
- The rough work. Stapling a conduit along an open garage ceiling is nothing like fishing wire through a finished wall, cutting through a slab, or trenching across a driveway. Every foot of concealed run is time, mess, and often patchwork afterward.
- Going to a heavier circuit. A 240V, 40- or 50-amp circuit needs the right breaker and wire gauge, and the NEC’s continuous-load rule means the circuit has to be sized above the charger’s draw. Upsizing adds cost on both the wire and the breaker side.
- Panel capacity and its condition. If your service panel is already near full, adding a charger can force a panel upgrade — often the single most expensive surprise in the whole job, and one that a lazy quote conveniently leaves out.
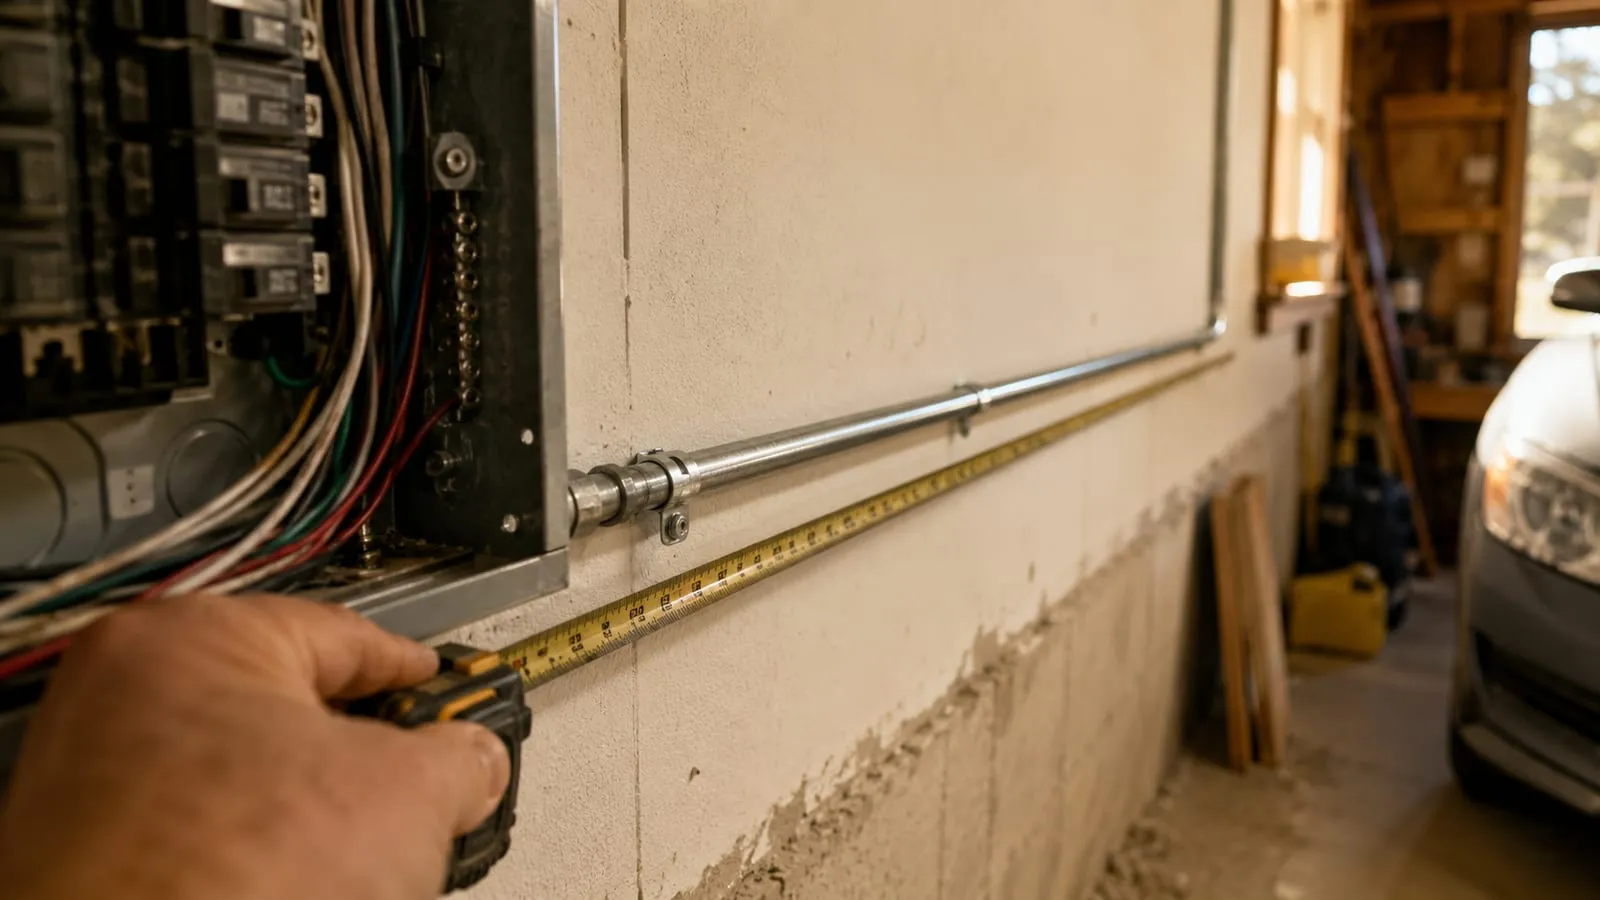
Of these four, the one nobody measures upfront is the first. A trade tip worth its weight: before you request a single quote, grab a tape measure and check the real distance from your panel to where you park — following the path the wire would take, not a straight line. That number, more than your car model, sets your bill.
The trap of the one-number quote
Let me lean on something I’ve watched cost people money more than once: be suspicious of any quote that’s a single round number and nothing else. “Charger install: $1,500.” No breakdown, no footage of wire, no mention of the panel or the breaker. That number is hiding assumptions, and assumptions get corrected mid-job — always upward.
An honest quote separates equipment from installation, states how many feet of wire it assumes and at what gauge, spells out the breaker and GFCI protection, and says clearly whether a panel upgrade is included or not. If any of that is missing, it isn’t cheaper — the cost is just parked, waiting for you.
Another classic mistake is falling for the biggest, most powerful charger “to be safe.” A high-output unit won’t charge your car any faster if the car’s onboard charger caps at 7.2 or 11 kW, which most do. You pay more for the hardware, more for the heavier circuit, and gain nothing. Extra power is money down the drain if your car can’t take it. If you’re unsure what output you actually need, it’s worth pausing to understand amperage and kW before you sign anything.
How to save without cutting the wrong corners
Saving on a charger install isn’t buying the cheapest box on a marketplace. It’s making three or four smart decisions.
- Shorten the wire run. If you get to choose the charging spot, put it as close to the panel as you can. Every foot you save is money straight back in your pocket. Sometimes moving the charger two feet over saves you crossing the whole garage.
- Don’t upsize the circuit without a reason. A well-installed 40-amp Level 2 charges plenty overnight and spares you the extra cost of a heavier circuit and a possible service upgrade.
- Use load management instead of a panel upgrade. A charger with dynamic load balancing throttles its draw so it never overloads your service when the oven or the heat pump kicks in. The hardware costs a bit more, but it can save you a full panel upgrade.
- Do the protection right the first time. It’s tempting to skimp here, and it’s exactly where you shouldn’t. The dedicated breaker and GFCI aren’t optional, and many chargers already build in the DC fault detection that would otherwise force a pricey device. Checking that before you buy can trim the bill; we lay it out in the guide to EV charger electrical protection.
And one thing hardly anyone does: always get two or three quotes, and compare them line by line, not by the total. The one that looks most expensive is sometimes the only one that counted the wire honestly.
Frequently asked questions
Is the charger really the cheap part?
In most installs, yes. A basic Level 2 unit runs $350-500 and its price is very predictable. What swings the final bill is the installation — the feet of wire, the rough work, and the state of your panel. That’s why two homes with the same charger can pay very different totals.
How much does each foot of wire add?
Installed wire runs roughly $8-25 per foot depending on gauge, conduit, and how hard the path is to run. A short run barely registers; a run over 20-30 feet, concealed in a wall or crossing outdoors, can add $500-1,000 to the total.
Is a high-output charger worth it at home?
Rarely. If your car’s onboard charger caps at 7.2 or 11 kW, a more powerful unit won’t charge any faster — you’ll just pay more for the hardware and the heavier circuit for nothing. For overnight home charging, a standard 40-amp Level 2 covers the vast majority of cases.
Will I need to upgrade my electrical panel?
Not always. It depends on how much capacity your service panel has left and what else runs at the same time. A charger with dynamic load balancing throttles its draw to stay under your available capacity, which in many homes avoids a full panel upgrade — the single priciest surprise in this job.
Can I install the charger myself?
It’s not recommended, and in most places a permit and inspection are required regardless. A hardwired Level 2 install needs a licensed electrician, a dedicated circuit with the right protection, and sign-off from your local inspector. That paperwork is what backs your install with the utility and your insurer. Saving here tends to cost more later.
With the breakdown clear, the logical next step is getting the equipment right: which charger fits your car, your panel, and how you charge. We break it down in the guide to choosing a home EV charger.