The key to hanging something that holds is matching the drill bit and the anchor to the wall type, and knowing what’s behind before you drill. The same anchor won’t work in a hollow partition and in concrete, and a badly placed hole can hit a wire. Here’s how to do it right, without wrecking the wall or getting a shock.
1. Identify the wall type
- Hollow partition (hollow brick/block): the most common interior wall. A few knocks sound hollow.
- Solid brick or concrete: sounds solid and is hard to drill; needs hammer mode.
- Drywall (plasterboard): a thin board with a cavity behind; sounds hollow and is soft.
- Tile: hard and brittle; drill without hammer mode.
Trick: knock with your knuckles. Hollow = partition or drywall; solid = brick/concrete.
2. Choose the right bit
- Masonry bit (for hammer drilling): for brick and concrete.
- Metal (HSS) bit: for drywall and metal studs.
- Tile/glass bit (spear point): for ceramic, always without hammer mode.
- The bit diameter = the anchor diameter (a 6 mm anchor → a 6 mm bit).
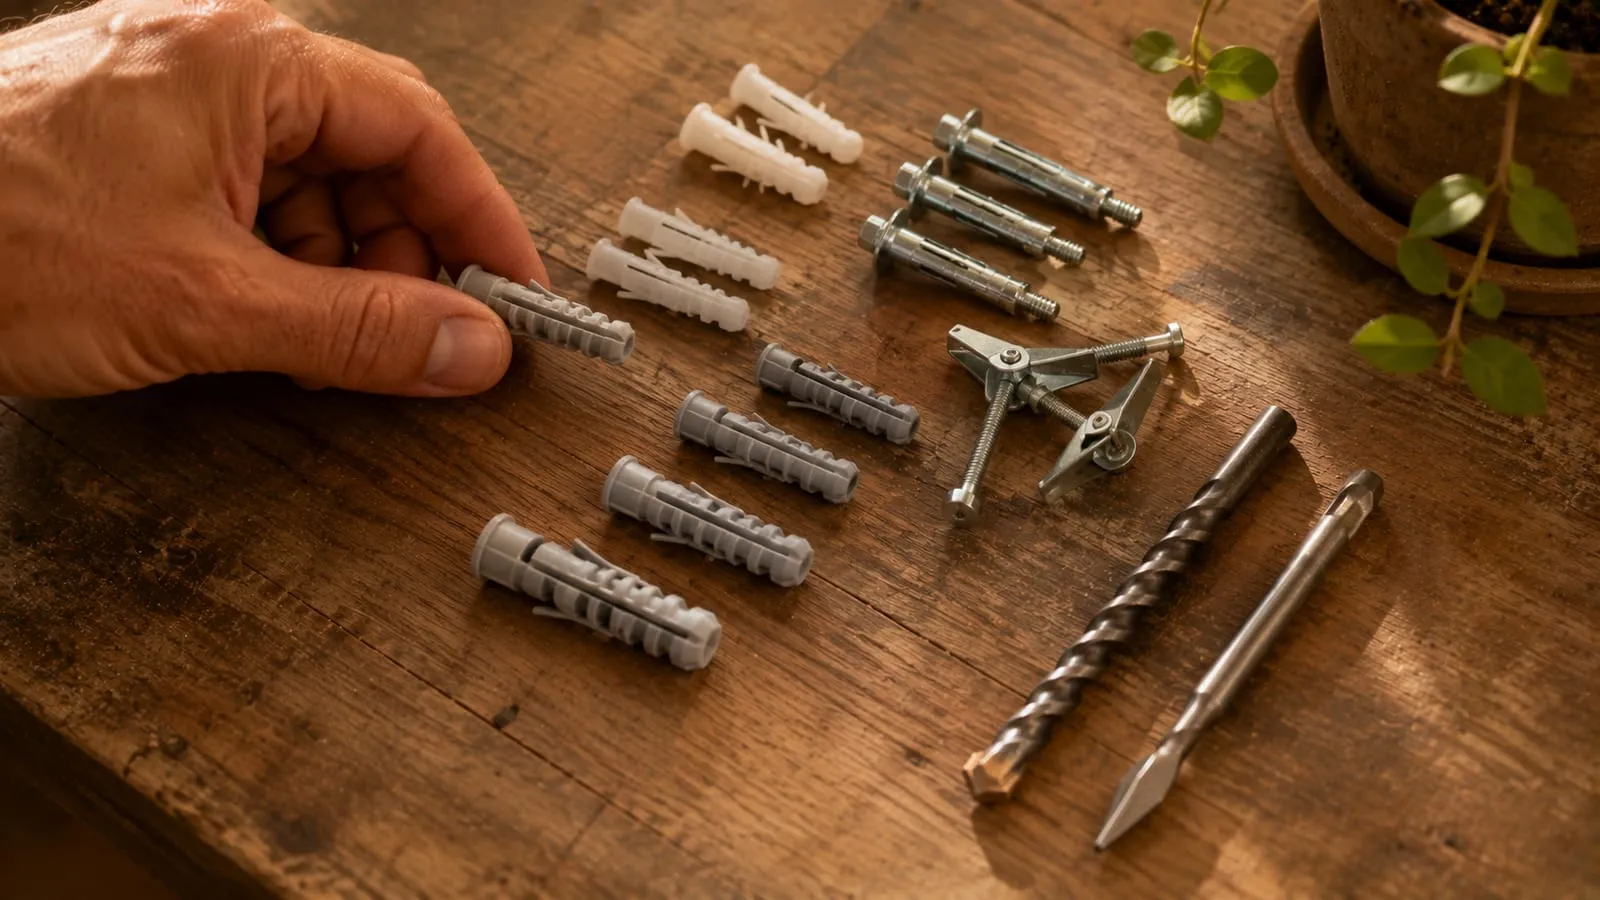
3. Choose the anchor for the wall and the weight
- Universal expansion anchor (nylon): solid walls and general use.
- Hollow-wall anchor (metal toggle or self-drilling): essential in drywall and hollow partitions; an expansion anchor in a hollow wall just pulls out.
- Chemical anchor or threaded rod: for heavy loads (TVs, loaded shelves, radiators).
The anchor has to match the wall type and the weight it will hold.
4. Before drilling: avoid wires and pipes
Don’t drill directly above, below or beside outlets and switches: wires usually run vertically and horizontally from them. Use a cable and pipe detector if you’re unsure. This is the step that prevents the shock (and the blackout).
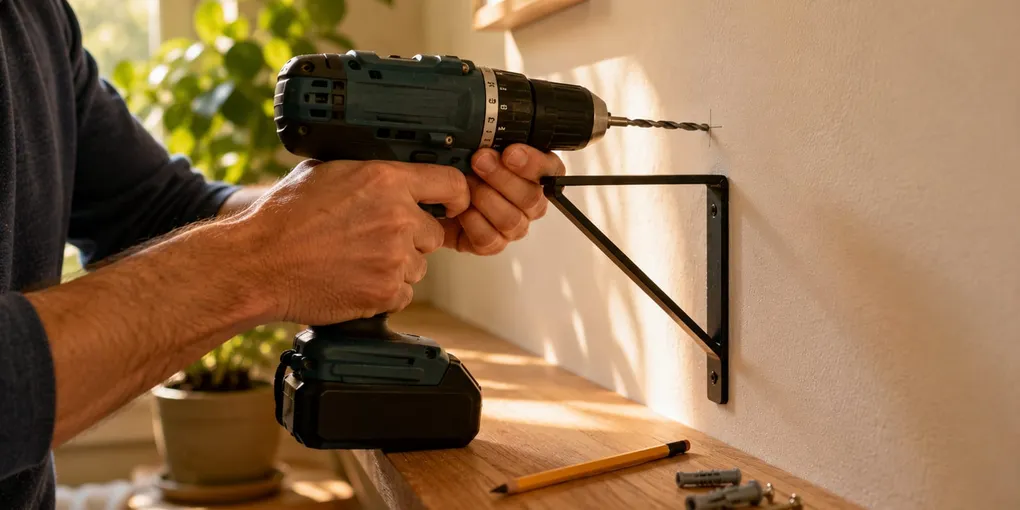
5. Drill with technique
- Mark the spot with a pencil; for several holes, use a level.
- Stick a piece of masking tape over the mark: the bit won’t wander and it catches dust. On tile it also stops it cracking and helps the bit start without skidding.
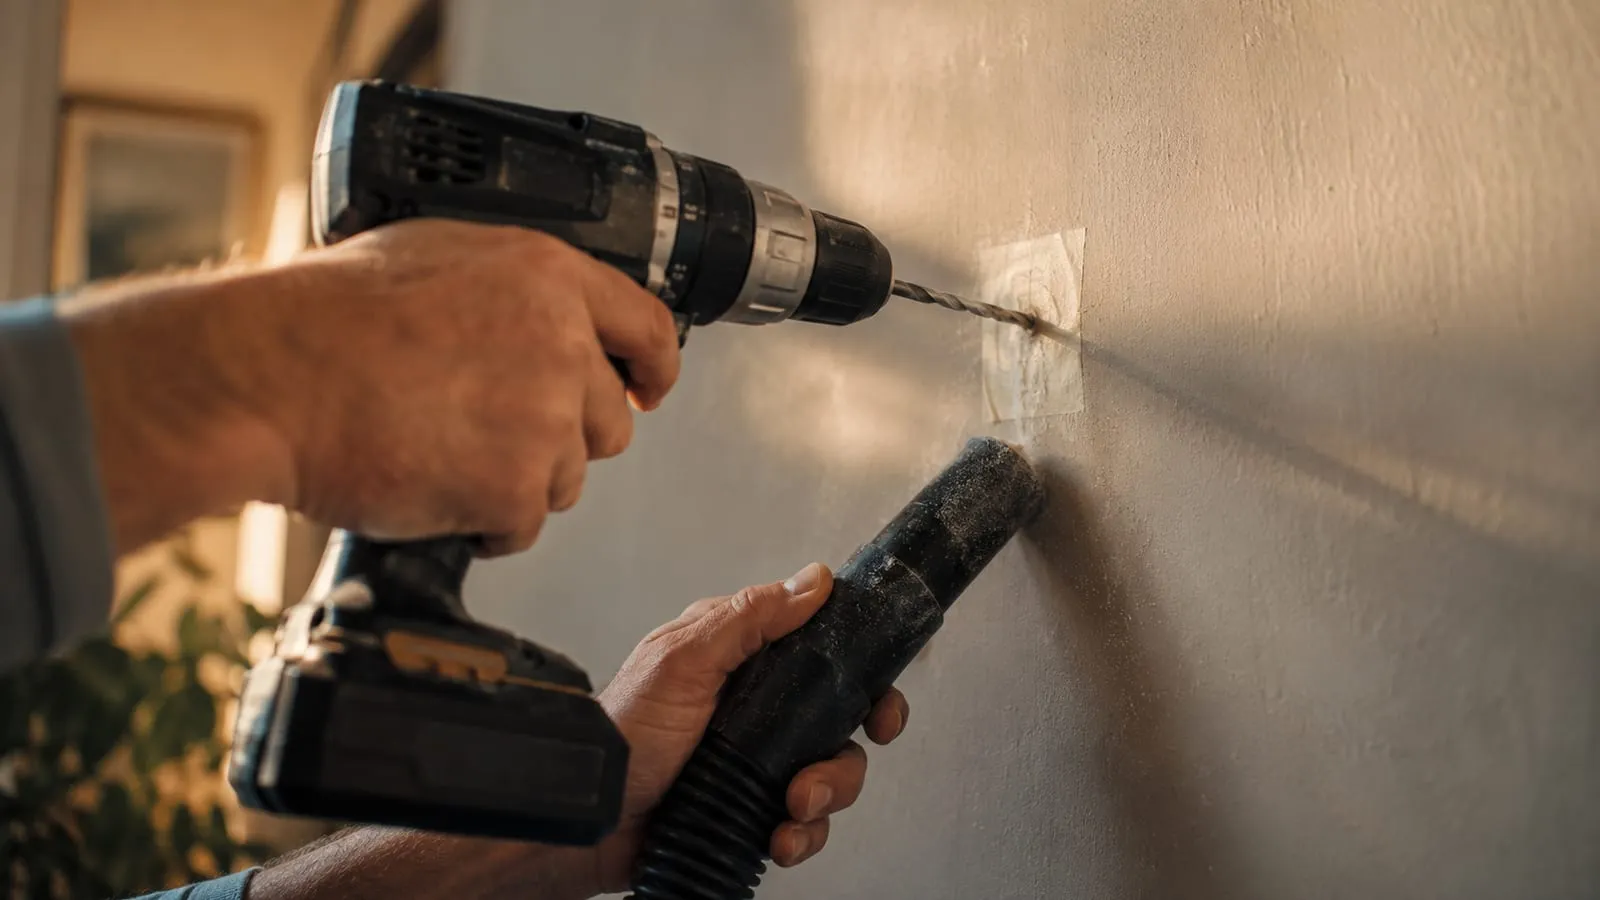
- Drill straight (90°) and start slow. Hammer mode ON for brick/concrete; OFF for drywall and tile (on tile, no hammer until you’re through the glaze).
- Control the depth: mark the bit with tape at the anchor length so you don’t overshoot.
- Catch the dust: hold the vacuum nozzle just under the hole while you drill.
6. Insert the anchor and hang
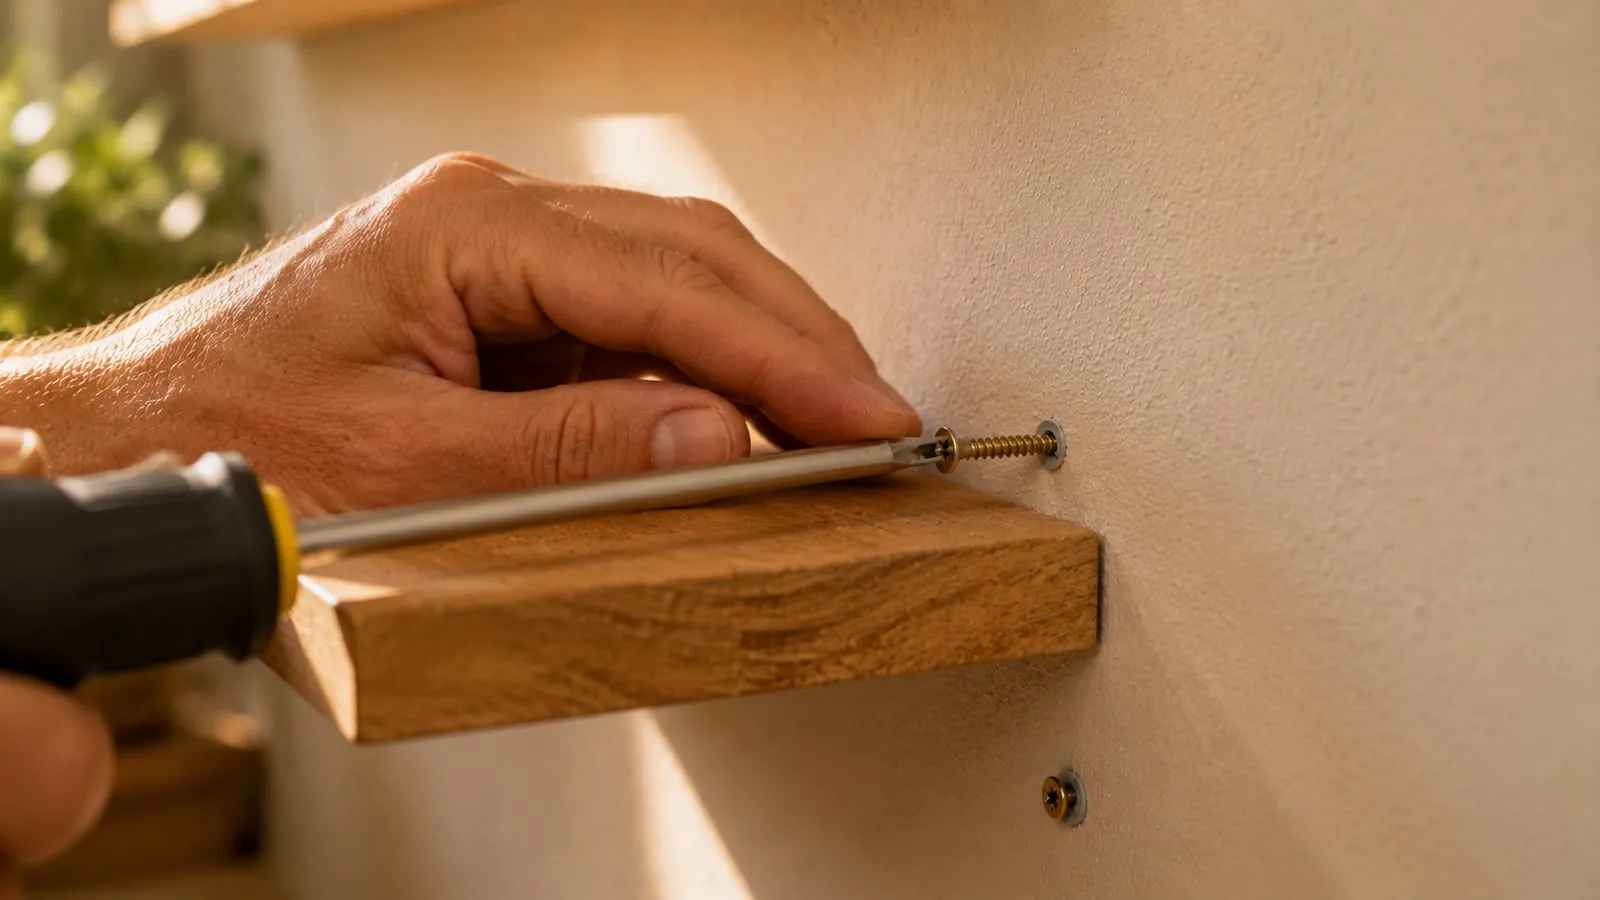
- Blow or vacuum out the dust (a clean hole grips better).
- Push the anchor in until flush and tap it gently.
- Drive the screw, leaving a few millimeters out if you’re hanging from a hook or bracket.
Pro tricks
- Knock on the wall to tell hollow from solid before choosing the anchor.
- Tape over the mark: the bit won’t dance, it catches dust, and on tile it prevents cracks.
- Tape flag on the bit as a depth stop.
- Vacuum under the hole: zero mess on the wall and floor.
- Hammer mode OFF on tile and drywall; ON only on brick/concrete.
- Something heavy (TV, mirror, shelf): spread the load over two points, use the right anchors (or chemical), and in drywall it’s best to hit a stud.
Common mistakes
- Expansion anchor in a hollow wall: it won’t grip and pulls out.
- Hammer mode on tile: it cracks.
- A bit that doesn’t match the anchor: loose, or it won’t go in.
- Drilling near an outlet: risk of hitting a wire.
- A screw that’s too short: the anchor won’t expand and won’t hold.
Frequently asked questions
Which bit for tile?
A spear-point tile/glass bit, without hammer mode, starting slowly.
How do I tell if a wall is hollow or solid?
Knock with your knuckles: hollow means partition or drywall; solid means brick or concrete.
What anchor for drywall?
A metal toggle or self-drilling hollow-wall anchor; expansion plugs won’t work.
How do I hang something heavy without it falling?
Spread it over two points, use anchors rated for the weight (or chemical), and in a hollow wall find a stud or use toggle anchors.
What if I drill in the wrong spot?
No problem: learn to patch the hole and start again.