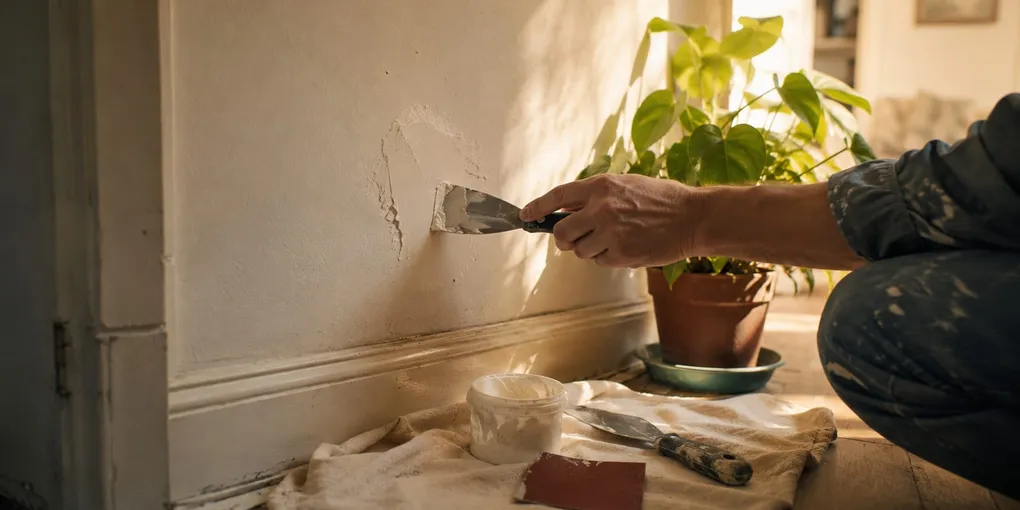
There’s a hole in the hallway you’ve walked past for months — left by an anchor, a doorknob, or a picture that moved on. It’s a fifteen-minute fix, and the only reason it’s still there is that most people do it wrong the first time and give up. So let’s do it right. A good patch comes down to filling in thin layers, letting it dry, sanding it flush, and priming before you paint. The mistake is always the same: one thick blob of filler that sinks, cracks, and telegraphs through the topcoat. Here’s how to patch a hole in the wall so the repair goes invisible — sized to the damage, with the tricks that make the difference.
What you’ll need
Match the filler to the hole and you’re halfway there — the wrong product is why so many patches shrink and crack.
- Spackle/filler: ready-mixed for small holes; setting-type (powder) for deep ones, because it shrinks far less.
- A putty knife — a wide 4–6 inch blade lets you feather the edges and hide the repair.
- Fine sandpaper (120–180 grit) and a sanding block or sponge.
- Self-adhesive mesh (scrim) tape for cracks and medium holes.
- Primer or sealer for the patched area.
By type of damage
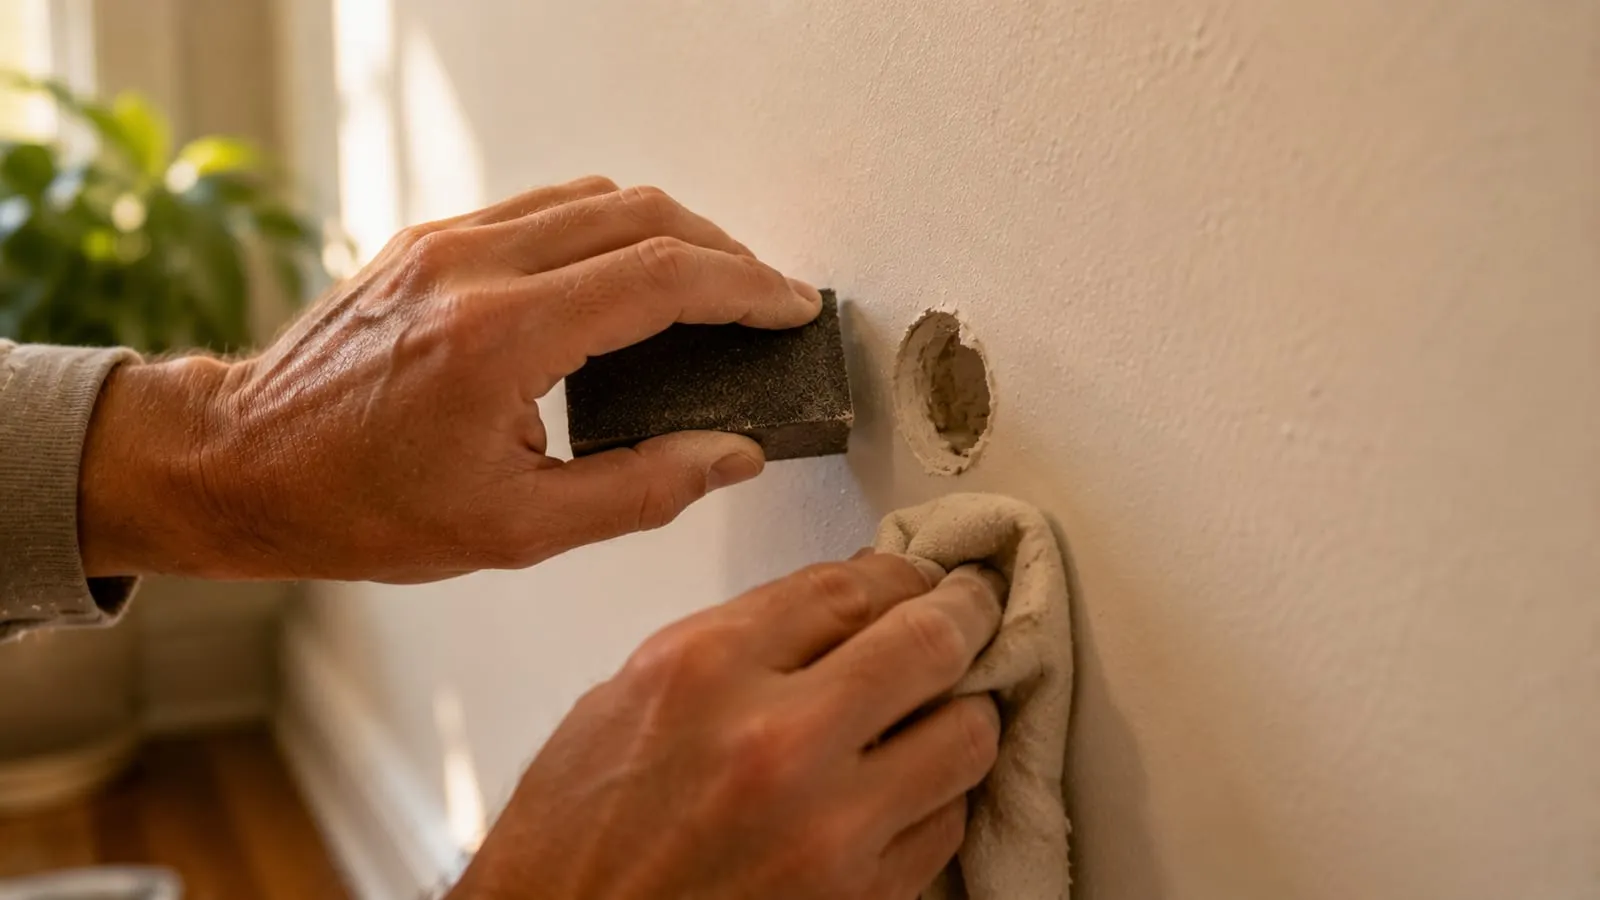
Not every hole gets the same treatment — reading the damage tells you how many coats and whether you need mesh.
- Nail or screw holes (small): one pass of filler, smooth, sand.
- Anchor holes (medium): fill in two coats; if the anchor blew out the edge, cut away the loose bits first.
- Large holes in drywall: back them with mesh or a drywall patch, then 2–3 coats of compound feathered outward.
- Fine cracks: open them slightly into a “V” with the knife tip so the filler keys in. If a crack keeps coming back, it’s moving — use flexible filler or mesh, never a rigid one.
Step by step
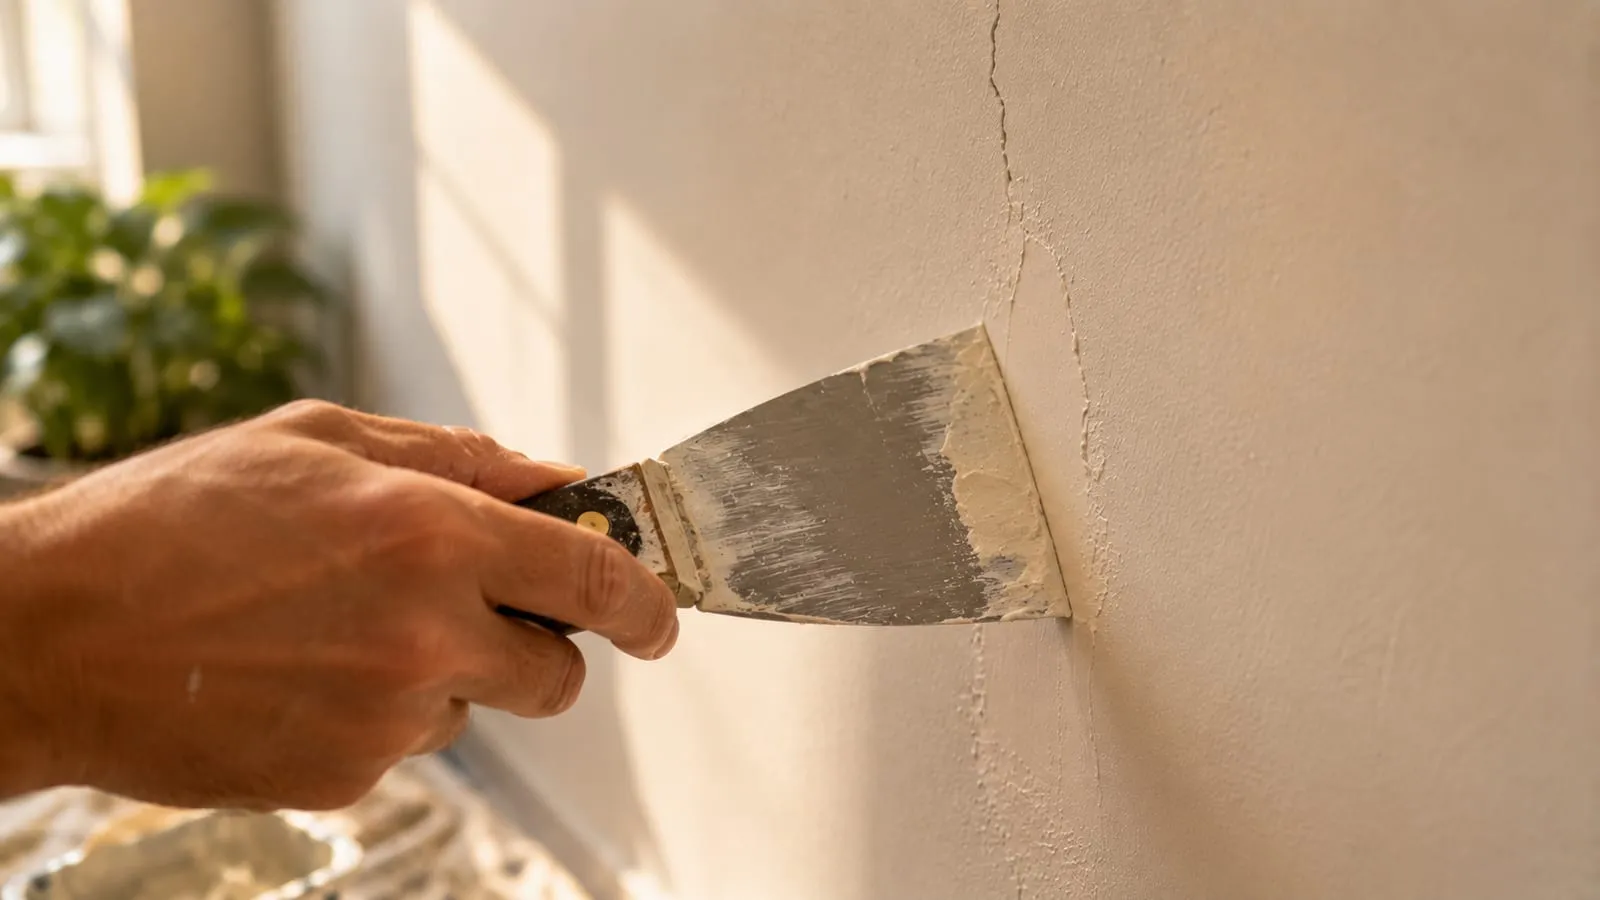
The order is what makes it disappear. Rush a step and the patch shows up the moment the light hits it.
- Prep the hole: clear the loose material, sand the edges flush, and wipe off the dust. On very dry plaster, dampen the edge lightly — a thirsty wall pulls the water out of the filler and it cracks as it cures.
- Fill in thin layers, leaving it slightly proud of the wall since filler shrinks as it dries. For deep holes, two or three thin coats beat one thick one every time.
- Smooth with the knife, pressing and dragging; on big holes, feather the edges outward with a wide blade so there’s no ridge to catch the eye.
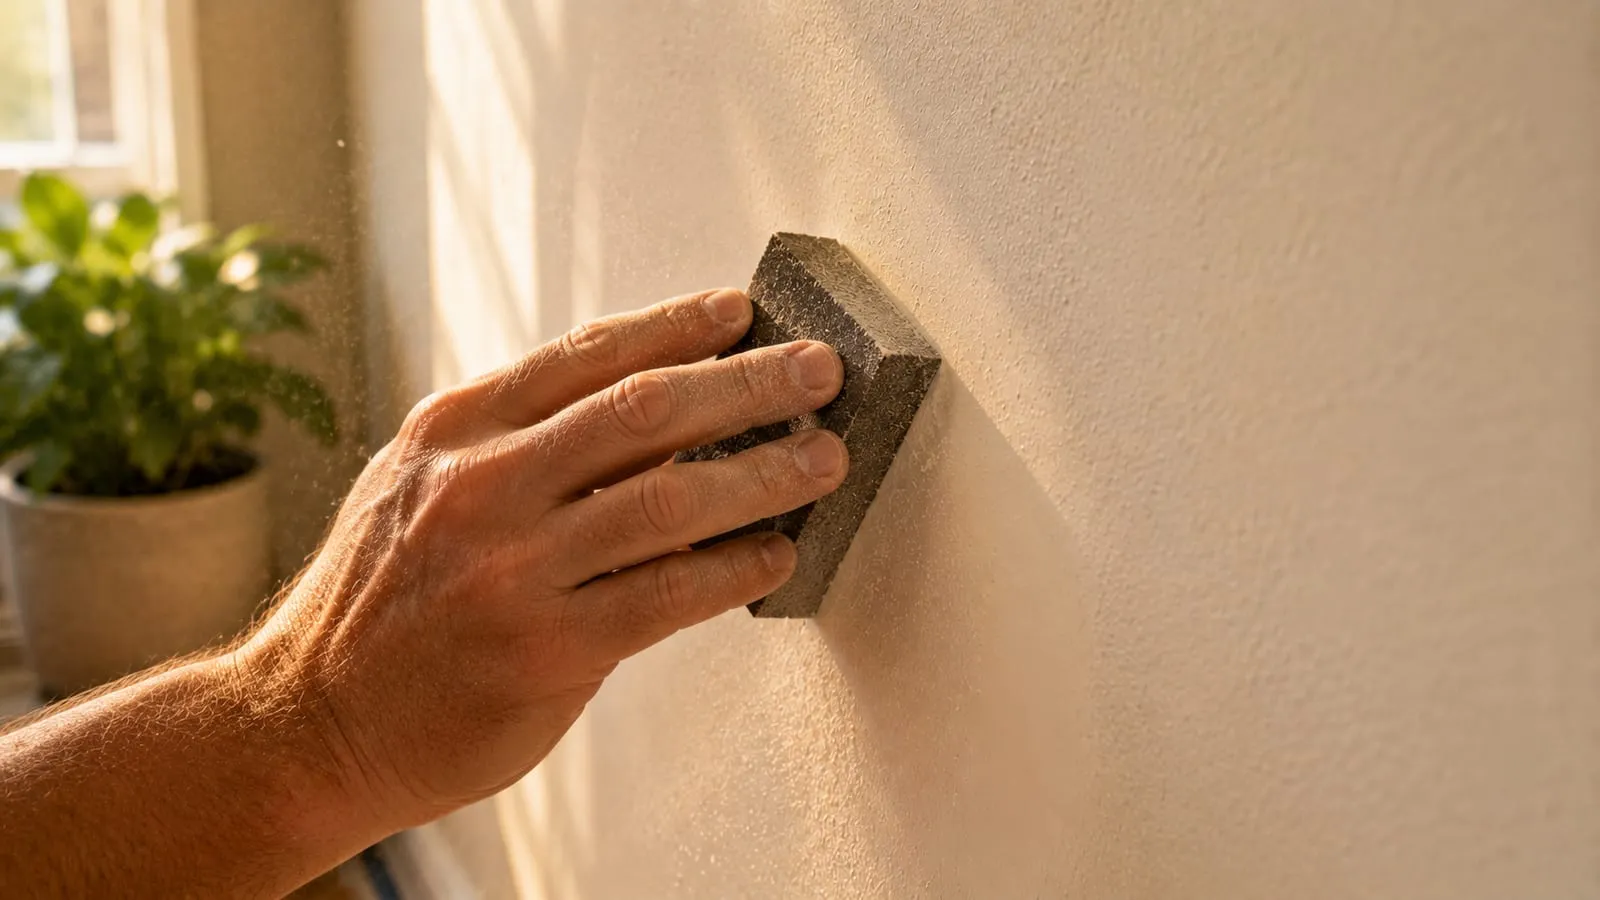
- Let it dry all the way, then sand gently with fine grit until it’s flush. Run your hand across it — it should feel like one continuous surface.
- Prime the repair before you paint. Filler is porous, and left unsealed it drinks the paint and leaves a dull halo — the flashing that gives a patch away.
Pro tricks
- Overfill and sand back: it takes up the shrinkage and keeps the patch from sinking.
- Two thin coats instead of one thick: dries without cracking or slumping.
- Feather it wide: the farther you drag the edges out, the more the patch vanishes into the wall.
- Always spot-prime the repair: this is the single step that stops the mark from showing after you paint.
- Cracks that reappear: mesh plus flexible filler; a rigid filler just splits again along the same line.
- Nail pops: drive a fresh screw beside it, remove or reset the popped nail, then fill.
Common mistakes
- Painting over filler without priming: the patch dries dull and obvious.
- A thick blob: it shrinks, sinks, and cracks.
- Leaving loose debris: the filler can’t bond and drops out later.
- Sanding with coarse grit: it scratches the sound wall around the patch.
Frequently asked questions
Spackle or joint compound?
For small holes, spackle/filler. For drywall seams or large repairs, joint compound with mesh.
How long does it take to dry?
A thin coat, 1–2 hours; deep holes or powder filler, per the maker’s timing. Only sand once it’s fully dry.
Can I paint straight over it?
Better not — prime the patch first so it doesn’t flash under the topcoat.
What about a big hole with nothing behind it?
Bridge it with a mesh patch or a drywall plug before you apply any compound.
With the wall patched and sanded, you’re ready to paint it like a pro.